 GUILDED
Set up Guilded for your guild, from scratch
For the hosted bot, use the approval-required pilot instead.
Invite Guilded, wait for KCaron's approval, then run /setup start. No hosting or
database account is needed for approved pilot guilds. This walkthrough is for
owners who choose to host independently.
You do not need to write code. You will create a few accounts, choose settings, and paste commands into a server window. Keep this guide open on your Windows PC. For an existing installation, use the release update guide instead.
Plan your time: allow an unhurried first session for account verification and hosting. The 30-minute target starts once your server, database and hostname are ready. Oracle approval, capacity and DNS delays are outside Guilded's control. Guilded 6.0.0 is the full Release; a timed beginner walkthrough is still pending.
Jump to a step: Discord bot · Invite · Oracle account · Ubuntu server · Database · Web address · SSH · Install · Discord wizard · First player · Member message.
Your checklist
- Create your Discord bot and invite it.
- Create an Oracle account and Ubuntu server.
- Create a PostgreSQL database and a public hostname.
- Connect to the server and install Guilded.
- Fill four settings and pass the setup check.
- Run the Discord wizard and connect one officer and one member.
What these words mean: a server/VM is the computer that keeps your bot online; PostgreSQL stores your guild's records; DNS/hostname is the web address members visit; SSH opens a secure command window on your server; an SSH private key unlocks that server. If used, the optional Windows companion stays on each player's own PC.
Keep a private setup note
Use a password manager or a private local note. Do not paste secrets into Discord, AI chats, screenshots, GitHub issues or the landing page.
| Item | Where you get it | May you give it to members? |
|---|---|---|
| Application ID | Discord → General Information | Yes, usually unnecessary |
| Bot token | Discord → Bot | No |
| Discord server ID | Right-click your server | Yes |
| Server public IP | Oracle instance page | It is public; members use the hostname |
| SSH private key | Download during instance creation | No |
| Database connection string | Neon → Connect | No |
| Bot hostname | Your DNS provider | Yes |
| Addon + online companion links | Matching release; optional Windows app | Yes |
1. Create the Discord bot
Open the Discord Developer Portal. Sign in with the account that manages your guild's Discord server.
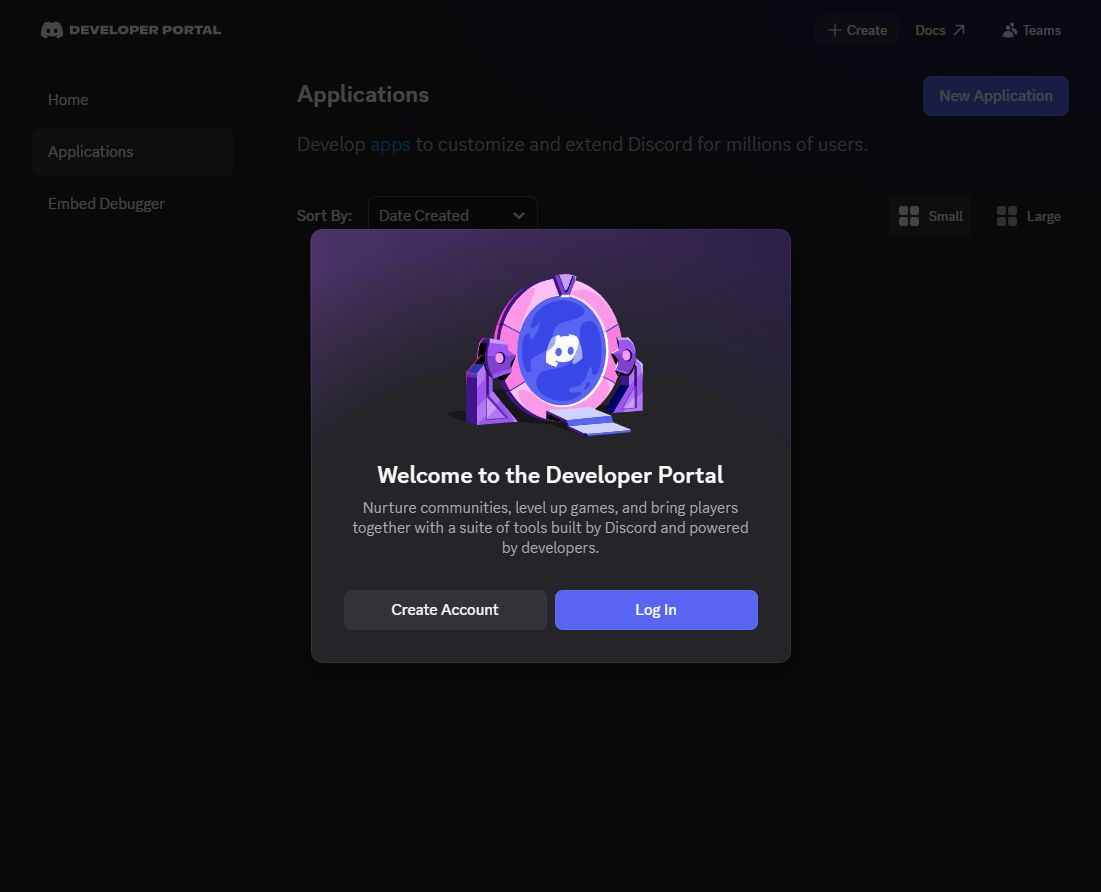
Captured 5 October 2026: the signed-out entry screen. Choose Log In if you already use Discord.
- Choose New Application, name it for your guild (for example,
Guilded — My Guild), review Discord's terms and create it. - Open General Information. Copy Application ID into your private setup note.
- Open Bot. Generate/copy the bot token using Reset Token if required. Complete Discord's verification yourself. Save the token privately; resetting it later invalidates the old token. Do not reset an existing live bot's token for this test.
- In Privileged Gateway Intents, enable Server Members Intent, then save. Leave Message Content Intent off for initial setup. Guilded's optional answer-channel feature can be configured later.
- Leave Interactions Endpoint URL empty. Guilded handles Discord through its own connection; do not follow the sample tutorial's ngrok or code-writing steps.
Success check: you have an Application ID and private bot token, and Server Members Intent is enabled. Reference: Discord application setup and privileged intents.
2. Invite it to your Discord server
In the application's Installation page, use Guild Install. Under
Default Install Settings, choose bot and applications.commands.
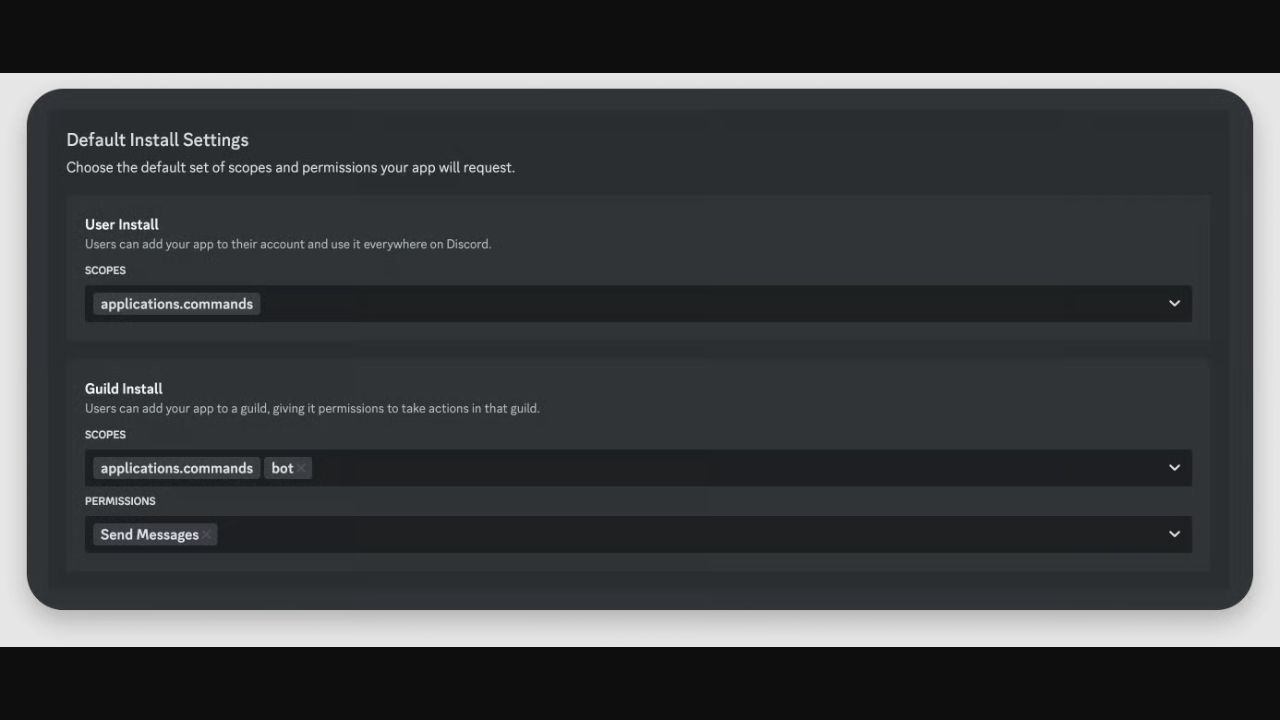
Screenshot of Discord's official example, captured 5 October. It shows the location of the controls, not Guilded's full permissions. Use the list below, not only Send Messages.
Choose these bot permissions:
- View Channels, Send Messages, Embed Links, Attach Files, Read Message History.
- Send Messages in Threads, Create Public Threads, Manage Threads.
- Manage Channels, Manage Roles and Manage Messages.
- Create Events and Connect (for events using voice channels).
Additional moderation permissions are needed only for moderation features you choose to use. The initial setup does not require Administrator permission. Copy the Discord Provided Link, open it, choose Add to server, select your guild, review the permissions and authorize it.
In Discord, open Server Settings → Roles. Move the bot's role above roles it will assign, including applicant, member and game roles. You can revisit this after the setup wizard creates roles. In your Discord user settings, enable Advanced → Developer Mode. Right-click the server icon and Copy Server ID.
Success check: the correct bot appears in your server. Offline is expected until step 8. Your server ID is a long number, not the server's name or invitation link.
3. Make your Oracle Cloud account
Start at Oracle Cloud Free Tier and choose Start for free, or open the signup form.
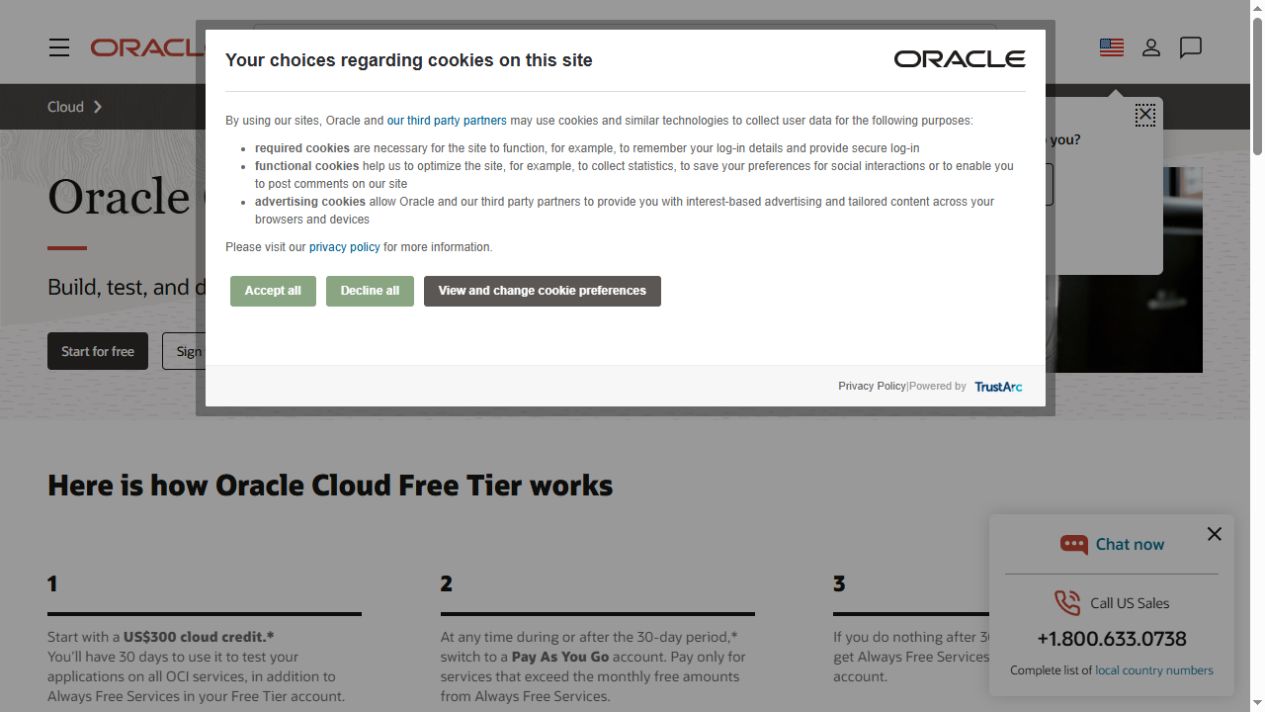
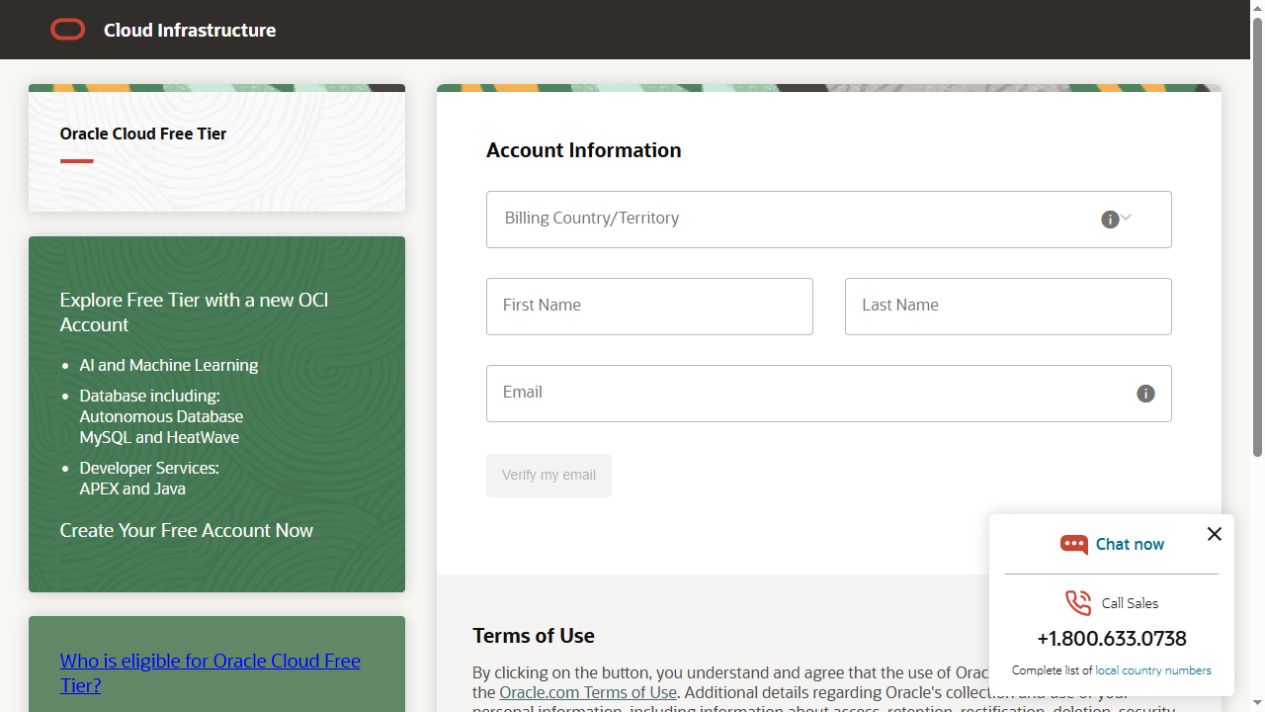
These are real public pages captured 5 October 2026. No account details were entered.
Enter your real billing country, name and email. Follow the email verification, account security, home-region and payment-verification prompts. Complete these personally. Oracle may require a card for identity checks and temporary holds; read the current terms before submitting. Choose a nearby home region carefully.
Always Free and trial credit are different. A resource using trial credit is not necessarily free after the trial ends. Use options marked Always Free Eligible, check the estimate before creating resources, and do not upgrade to Pay As You Go merely to follow this guide. Availability is not guaranteed. See Oracle's current terms and FAQ.
Success check: you can open the Oracle Cloud console. If signup or capacity is refused, stop here; do not create repeated free accounts.
4. Create the Ubuntu server
Oracle may change console layouts. The official first-instance guide provides the current navigation. For Guilded choose Ubuntu, even if an Oracle example screenshot shows Oracle Linux. Our installer uses Ubuntu packages.
- If you have no network, use Networking → Virtual cloud networks → Start VCN
Wizard → Create VCN with Internet Connectivity. Name it
guilded-networkand retain the wizard's public subnet/internet gateway. A compartment is simply a folder for cloud resources; use a dedicatedGuildedcompartment or your existing one. - Open Compute → Instances → Create Instance and name it
guilded-bot. - Under image settings, choose Canonical Ubuntu 24.04 (22.04 is also supported). Pick a compatible Always Free eligible shape offered in your account. A small AMD VM works with the installer's swap; an eligible A1 VM is another option. Review the actual memory, storage and price estimate rather than copying old quotas.
- Select your network's public subnet and enable a public IPv4 address.
- Under Add SSH keys, choose to generate a key pair. Save both files, especially
the private
.keyfile, before continuing. Keep them in a private folder you can find. - Review the estimate and create the instance. Wait for Running, then note its
public IPv4 address. For the Ubuntu image the SSH user is
ubuntu.
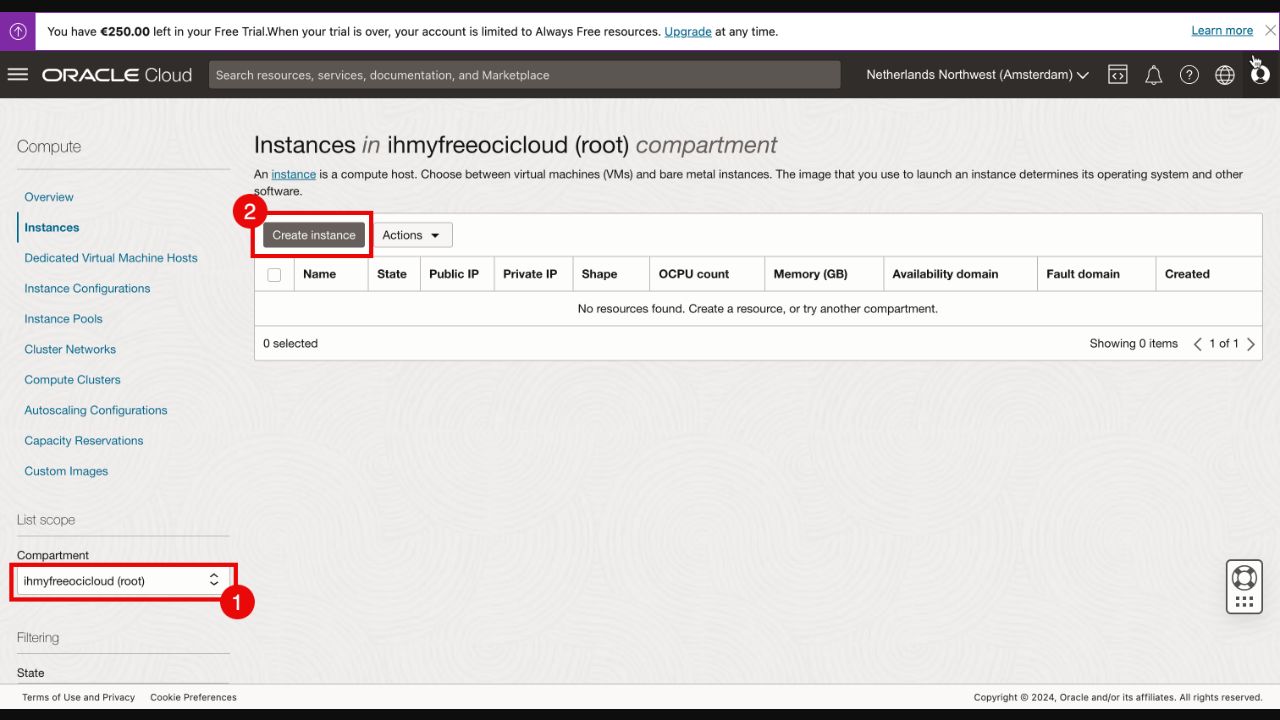
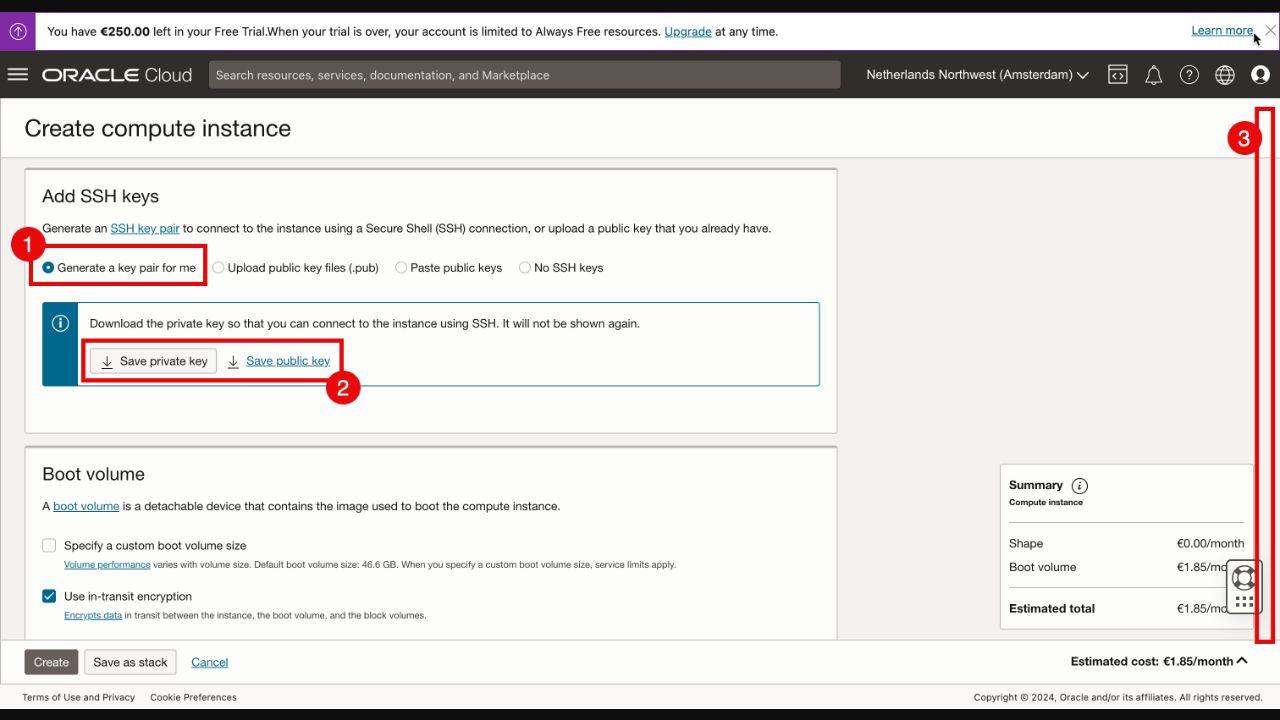
Screenshots of Oracle's published tutorial examples, captured 5 October 2026. The original tutorial is from 2024. Account names, regions, IPs and images shown are examples, not your values. Source: Oracle's illustrated tutorial. Use current instance instructions if controls have moved.
Allow web traffic
Open your instance's subnet and its attached Security List → Ingress Rules.
Add stateful TCP rules for destination port 80 and 443, source CIDR
0.0.0.0/0, source port All. These make the website reachable. Keep SSH port
22 limited to your own public IP where practical; do not remove your working SSH
rule before confirming replacement access. Do not open 8787 or the database port
on this VM. If you selected a Network Security Group too, check its rules as well.
Oracle security-list reference.
Success check: the instance is Running, you saved the key, and you know its public IPv4 address. “Out of capacity” means Oracle cannot supply that choice; retry an eligible available option later, rather than unknowingly choosing a paid shape.
5. Create the PostgreSQL database
Guilded needs PostgreSQL, not Oracle Autonomous Database or MySQL. One option is Neon: open its console, sign up and create a project for this guild. Choose PostgreSQL 16 or newer and a region near your bot. Review the current plan and limits. Use Connect to copy a PostgreSQL connection string for your project/database. Prefer the direct connection for this simple single-bot installation and preserve the provider's SSL parameters.
Save that entire string privately as DATABASE_URL. It contains a password.
Do not share a screenshot of the Connect dialog. You do not need to create
individual tables; Guilded creates them when its service starts.
Neon connection instructions.
Success check: your database project exists and you have its private connection
string beginning postgresql:// or postgres://. An existing database needs the
backup/update procedure instead of this fresh-install path.
6. Give the server a web address
You can use a domain you own. For a free subdomain, visit Duck DNS,
sign in using an offered provider, choose an available name, and set its IPv4
address to the Oracle instance's public IPv4 address. Save/update it. Example:
myguild.duckdns.org. Use your own chosen name everywhere below.
In Windows PowerShell, replace the example and check DNS:
nslookup myguild.duckdns.org
Success check: the answer includes your Oracle public IP. DNS can take time.
Do not continue with another guild's hostname or a private 10.x.x.x address.
HTTPS needs correct DNS and reachable ports 80/443; Caddy explains why.
7. Open a command window on the server
On Windows, open Start → PowerShell. Paste this after replacing the key path
and YOUR_SERVER_IP. Keep quotes around the key path if it contains spaces.
ssh -i "C:\Users\YOUR_WINDOWS_NAME\Downloads\your-oracle-private.key" ubuntu@YOUR_SERVER_IP
A first-connection fingerprint prompt is normal; verify the server identity against your Oracle connection information before accepting it. If the key is rejected as “too open,” follow the Set the Permissions for the Private Key File steps in Oracle's Windows SSH instructions. Never send the key to support. A timeout usually means wrong public IP, SSH rule, subnet/routing or a server that has not finished booting.
Success check: the prompt changes to something like ubuntu@guilded-bot:~$.
Commands in the next step go into that server window, not a second Windows terminal.
8. Install the selected Guilded release
Use matching addon, companion and bot source from GitHub Releases.
A beta supplied directly by the maintainer needs its matching source commit.
Do not guess a release tag: read it from the release notes. Do not paste commands
containing PASTE_RELEASE_TAG_OR_COMMIT unchanged.
Run these on the Ubuntu server, one block at a time. Stop if a command fails.
sudo apt-get update
sudo apt-get install -y git
git clone https://github.com/kevincaron28/Guilded.git guilded
cd guilded
git checkout PASTE_RELEASE_TAG_OR_COMMIT
Replace the hostname with your name from step 6:
sudo bash deploy/setup-server.sh myguild.duckdns.org
Wait for Done. Next:. The installer copies the app to /opt/guilded, installs
its dependencies and the HTTPS proxy, and prepares the service. It does not start
the bot. Use a dedicated host: the installer replaces that host's Caddy configuration.
Open the settings file:
sudo nano /opt/guilded/.env.local
Use arrow keys to move. Fill the four lines below with your own values, without
angle brackets. Leave optional settings alone. Keep the API on 127.0.0.1:8787
and MESSAGE_CONTENT_INTENT=false. Never paste your values into this guide.
DISCORD_TOKEN=your-private-bot-token
DISCORD_CLIENT_ID=your-application-id
DISCORD_GUILD_ID=your-discord-server-id
DATABASE_URL=your-private-postgresql-connection-string
In nano, Ctrl+O, Enter saves; Ctrl+X exits. Then:
cd /opt/guilded
sudo -u guilded npm run setup:check
Success check: every check says PASS. This verifies the settings' shape; it cannot prove a token or database password is valid. Fix any FAIL before starting.
Start the single bot service:
sudo systemctl start guilded
sudo systemctl status guilded --no-pager
sudo journalctl -u guilded -n 50 --no-pager
The first start applies database migrations. Do not run another local bot with
this token. active (running) plus the following checks confirms basic startup:
- Open
https://myguild.duckdns.org/health: expectok: trueand the intended version. - Open
https://myguild.duckdns.org/companion/: expect Connection & setup. - In your Discord server,
/report pingresponds.
Replace the hostname in both URLs. A browser certificate warning is a failed HTTPS checkpoint; fix DNS/firewalls/certificates rather than asking members to bypass it.
9. Let the Discord wizard create the guild layout
Run /setup start as a server administrator. Choose English or Français, select
existing roles/channels or Create missing roles/channels, and proceed through
the screens. Use Update bot messages, then /setup start status:true to check
what remains. Recheck bot-role order if role assignment fails.
Use /core setup for your first raid roster. Choose its loot system and points
pool. A priority-loot core needs item prices before an award test. Optional AI,
Warcraft Logs and community features can wait until the basic setup works.
Success check: one ordinary member sees the intended member channels and cannot see officer-only channels or use officer actions. Administrator testing alone does not prove member permissions are correct.
10. Connect your first player
Follow Member installation. Install the addon into the actual
WoW client, open the game and /reload. Start with the online companion at your own
https://myguild.duckdns.org/companion/. The Windows app is optional for automatic
background syncing, especially useful for leaders and officers.
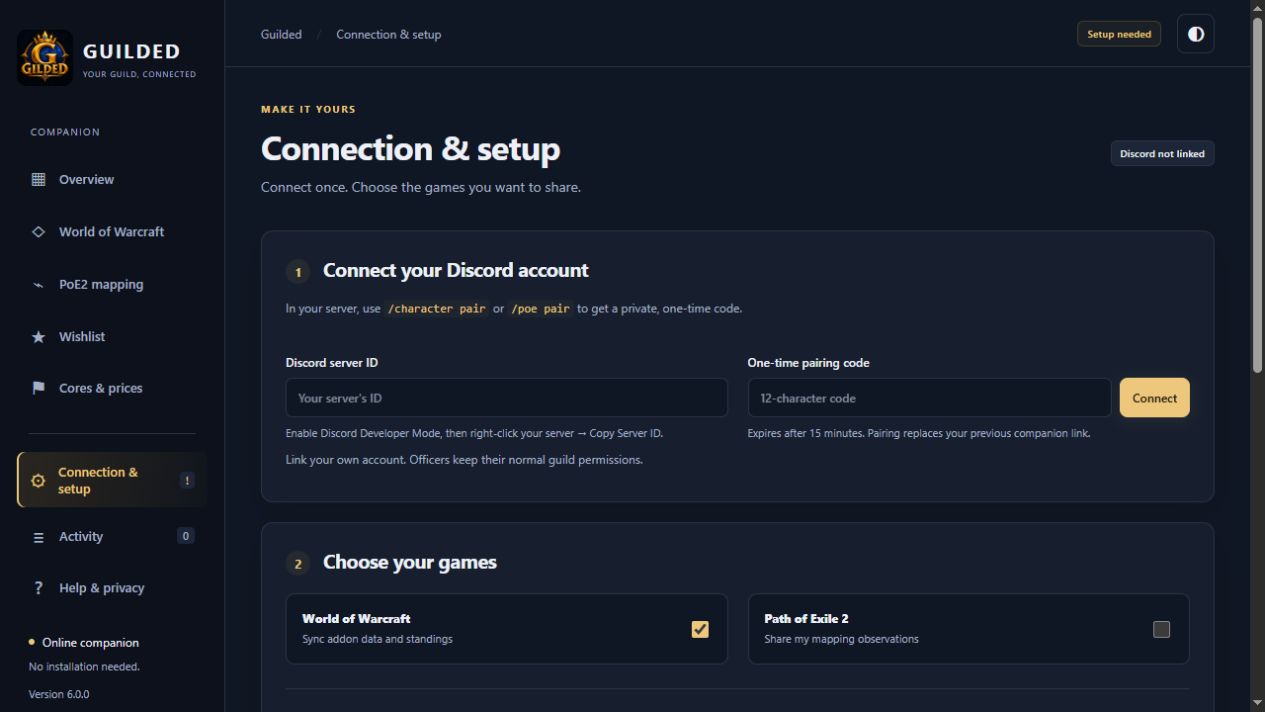
Guilded 6.0.0 local UI preview. This screenshot proves the page layout, not a live account connection.
Each player runs /character pair in your Discord server and enters their own
private code. Browser pairing replaces that player's previous companion link;
choose one mode while testing. In the browser, select the account's saved
Guilded.lua, save preferences and Sync now. Download standings into the
addon's folder and /reload again. On supported browsers, select both folders
once; Sync now uploads and saves standings together. The webpage remembers your
connection and folders. The optional Windows app handles syncing automatically.
Success check: upload succeeds, the correct character is linked, and returned standings match Discord. Repeat with an ordinary member before inviting everyone. A public web page loading is not proof that authenticated uploads work.
11. Give everyone one message
Fill the placeholders, then pin this in your guild's Discord:
Guilded for our guild
Addon: <matching addon download>
Optional Windows companion (automatic sync): <matching installer download>
Guide: <member guide link>
Discord server ID: <our server ID>
Bot address: https://<our-hostname>/api/v1/addon-imports
Online companion: https://<our-hostname>/companion/
Install the addon, log in and /reload. Use /character pair here for your own code.
Never share the code. For help, contact <our officer>.
If you get stuck
| Symptom | Check this first |
|---|---|
| Oracle signup/capacity fails | Provider approval or available eligible shapes; it is not a Guilded error |
| SSH times out | Running instance, public IPv4, public subnet, internet route and port 22 rule |
| Permission denied (publickey) | Correct private key and Ubuntu username; key file permissions |
| Hostname points elsewhere | Correct the DNS IPv4 and allow propagation |
| Website unavailable | Cloud and OS firewall ports 80/443, service state and Caddy logs |
| Database authentication error | Full provider connection string and SSL options; do not reset the database |
| Used disallowed intents | Enable Server Members Intent for the exact bot application |
| Commands missing | Correct application/server IDs, bot invite scopes and service registration logs |
| Cannot create channels/roles | Bot permissions, channel overrides and role order |
| Online Test connection works but upload fails | Pairing, server ID, selected file and current guild membership |
| Two replies to every command | Stop the duplicate process using the same token |
Share the exact error with sensitive values removed. A bot owner can inspect logs locally; members can use Activity → Download support summary. Keep the four secret settings, keys and credentials private.
What is verified, and what is still pending?
Guide checked against public vendor pages on 5 October 2026. Public entry screens are our captures; private-console illustrations are explicitly credited vendor examples. No Oracle account was created or charged for making this guide. Fresh Oracle provisioning, independent Discord-guild acceptance and a timed novice walkthrough still require real tests. The screenshot/source inventory is here.